Autodesk Inventor
In order to create three dimensional models for the projects in this class, I use Autodesk Inventor. Inventor is a parametric modeling software, meaning it uses user input to automatically calculate and generate various features. A powerful aspect of Inventor is that it updates all levels of design as individual components, whether they be a single dimension, specifications for a fillet, or entire part files in an assembly being redefined.
Widget Sketches
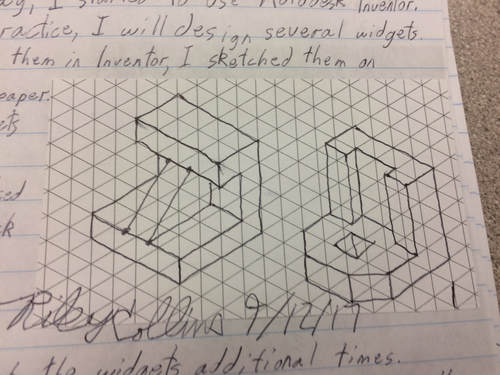
Before designing the parts in Inventor, I sketched them in my Designer Notebook to better visualize what I was designing.
Widget 5
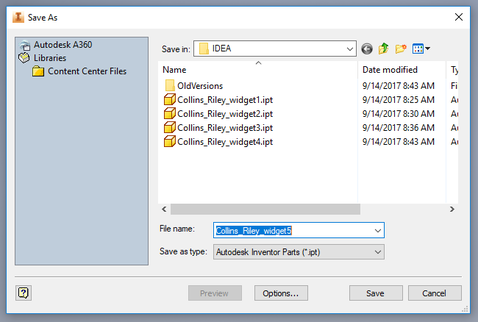
In order to create Widget 5, I first saved the file as "Collins_Riley_widget5.ipt"
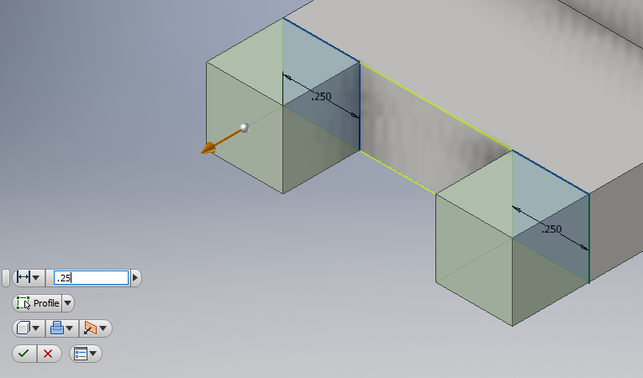
After saving the file, I sketched the basic two-dimensional shape of the widget's most prominent feature.

I then extruded this sketch by 0.25 inches.

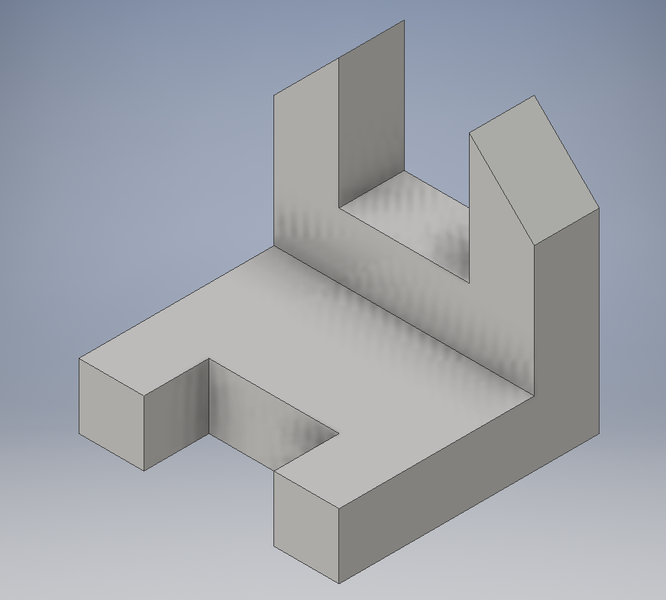
After creating the main feature, I then added the rest of the part, starting with the 0.5 inch depth rectangular base.

I then added the two cubes on the end of the part.
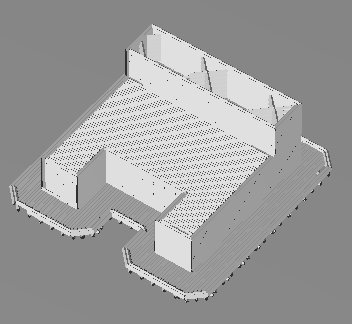
Here is the completed Widget 5:
Other Widgets
These are screenshots of the other five completed widgets.
3-D Printing
After designing the parts, I began work on 3-D printing Widget 5. In order to 3-D print, I exported the widget as a .stl file, the standard for 3-D printing. I opened this new file in MakerBot Desktop to prepare it for 3-D printing.
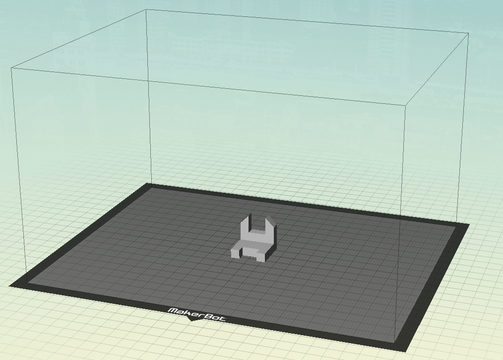
Notice that by default, MakerBot printers automatically add a raft to the bottom of a print to enhance the quality of the final object.
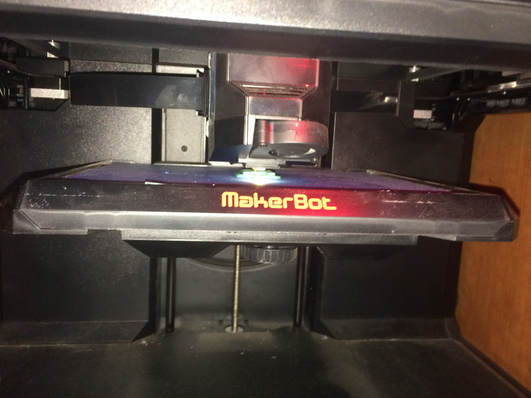
After preparing the part in MakerBot Desktop, I set up a MakerBot printer to begin printing the widget.
Widgets - Final Product
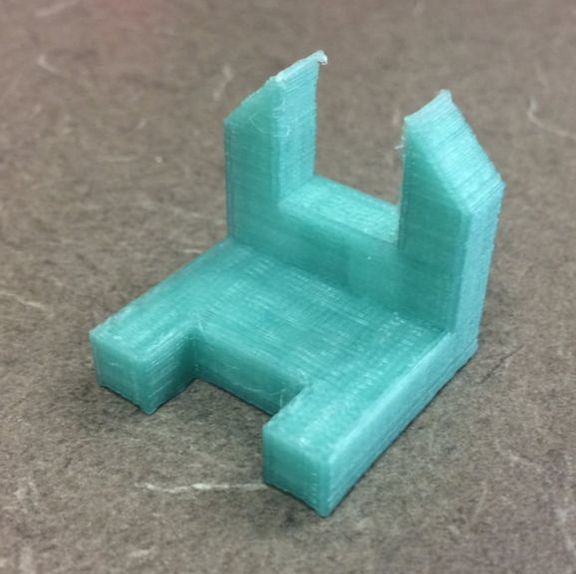
Here is the finished part with the raft removed.
Conclusion
By working on this project, I have learned how to export Autodesk Inventor's .ipt files to other formats such as .stl. Additionally, I now know how to use MakerBot Desktop in order to prepare a .stl file for printing with a MakerBot 3-D Printer. Finally, I learned how to actually 3-D print the parts on a MakerBot printer.
