Vinyl Decals
Using a vinyl cutter, we are able to create decals that can be applied to a variety of surfaces. Vinyl decals are commonplace, but most of them are printed. The current vinyl cutter in the Innovation Center can't print onto vinyl, but it can cut single colors that can be layered to form an overall design.
Project
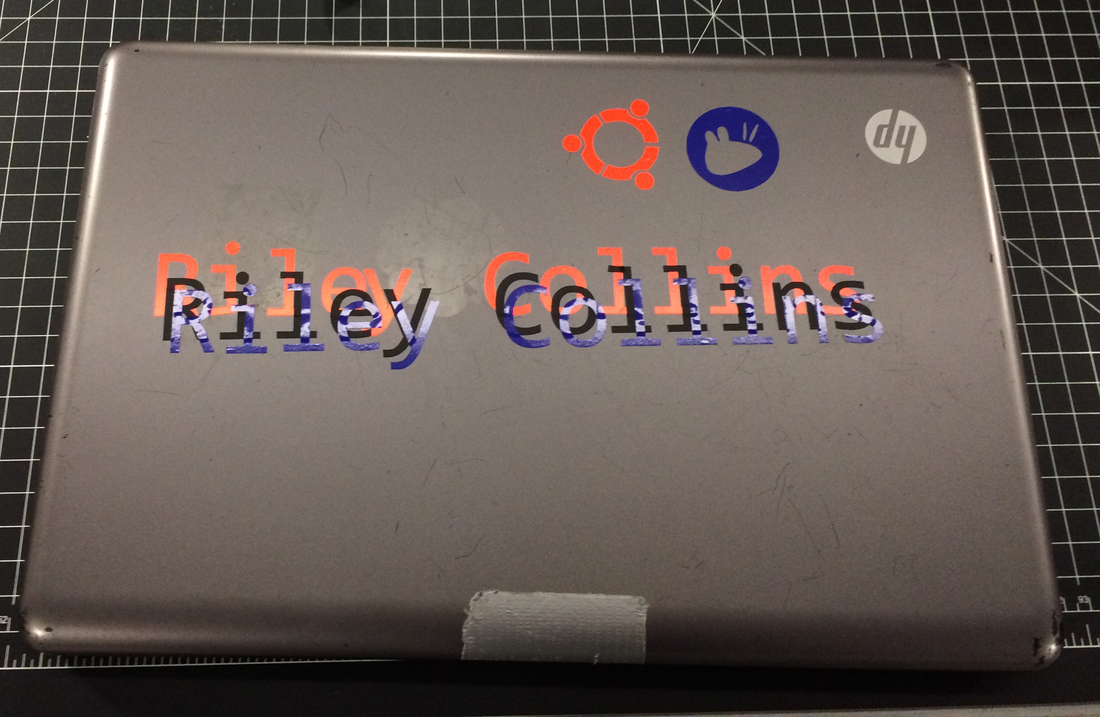
The vinyl decal I create must contain at least 3 colors and be a maximum of 12" x 12". I created a decal for my laptop, which has a 12" x 8" surface. After some thought, I designed a decal that features the logo for Ubuntu OS, which my computer uses, along with its desktop manager Xfce.

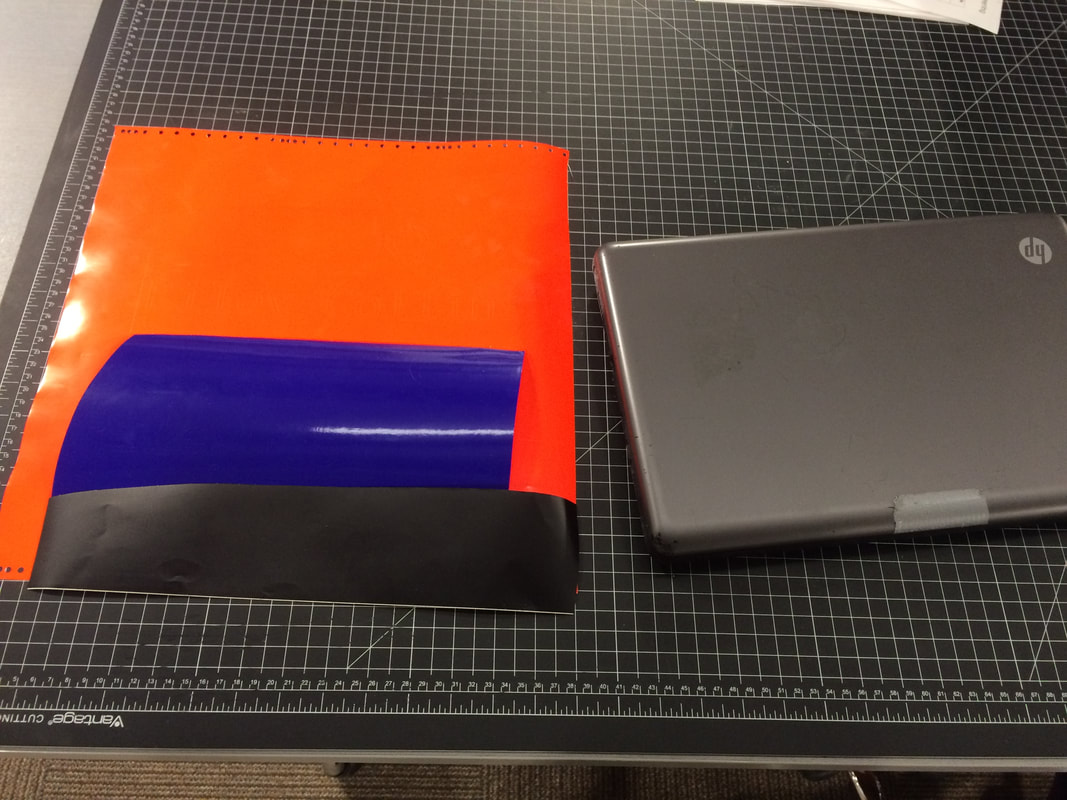
In order to begin creating the decal, I cut vinyl for each of the colors I planned on using, producing a total of three layers.
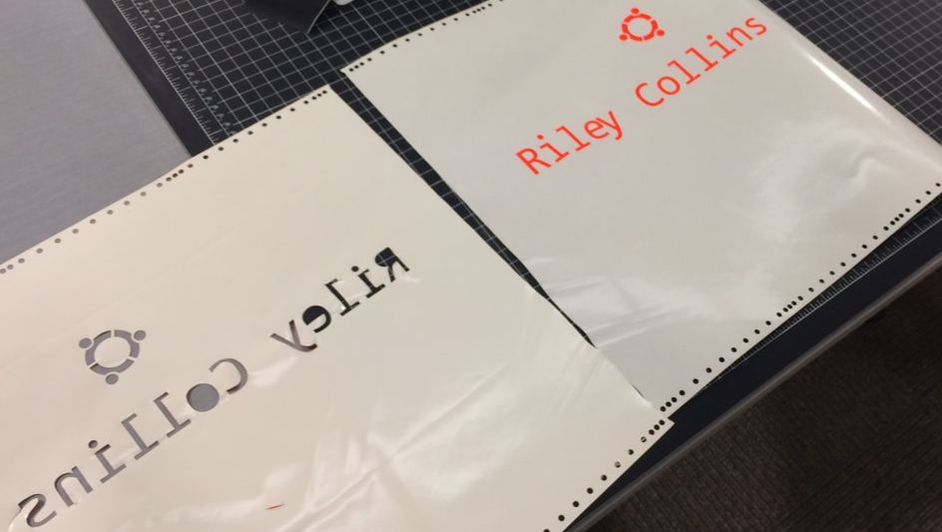
With the vinyl cut, it is time to begin applying the decal.
I started with the orange layer, first removing the negative space.
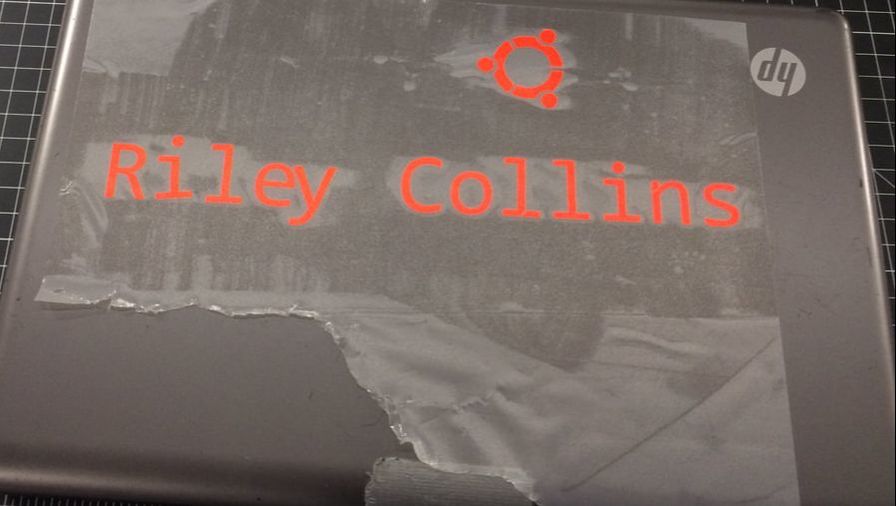
I then used tape to lift the vinyl from the backing.
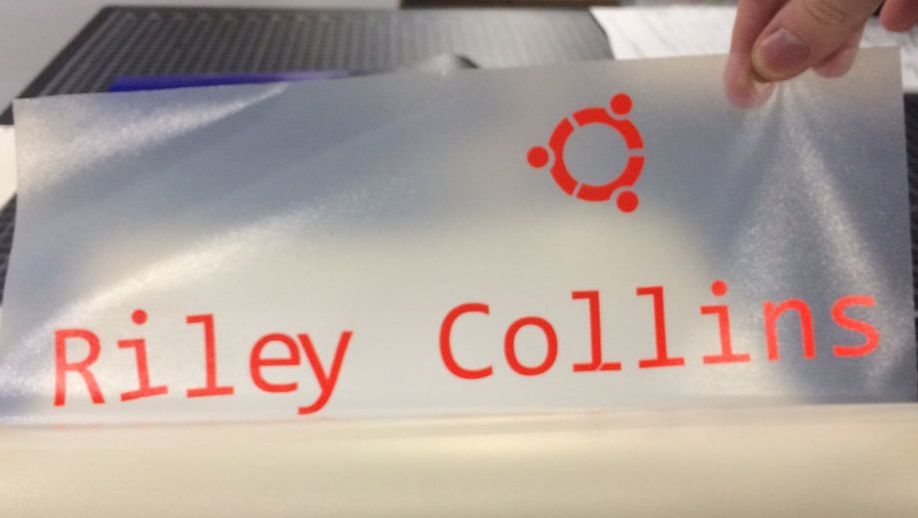
Next, I applied the vinyl to the laptop's surface.
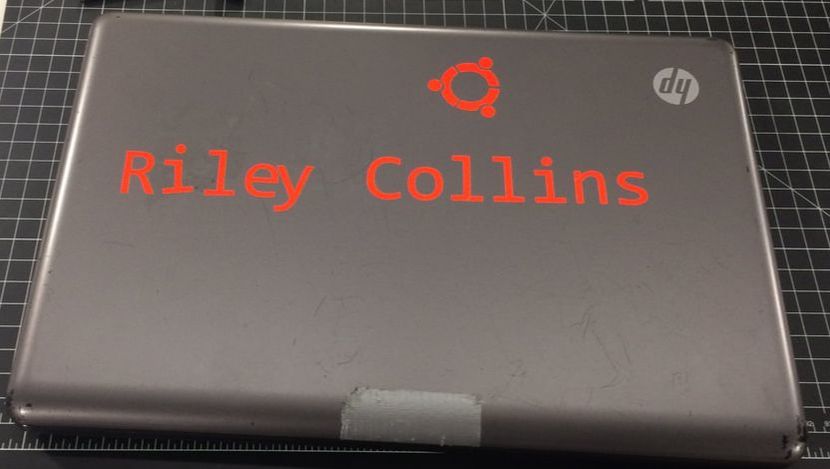
Finally, I removed the tape, leaving the vinyl applied to the laptop.
I then repeated the process for the black layer.
Finally, I applied the blue layer.
Conclusion
With the decal applied, the vinyl project is done. By completing this project, I learned about the creation of vinyl decals and how to apply them. However, I later realized that I applied the vinyl upside-down on the laptop. Nonetheless, it still serves to add an element of uniqueness to my device.