Overview
To solidify and expand my knowledge of using the CO2 laser, I designed three projects involving the laser's capabilities. They are:
- A front and back notebook cover
- A water bottle design
- A 3-D object constructed from parts cut by the laser
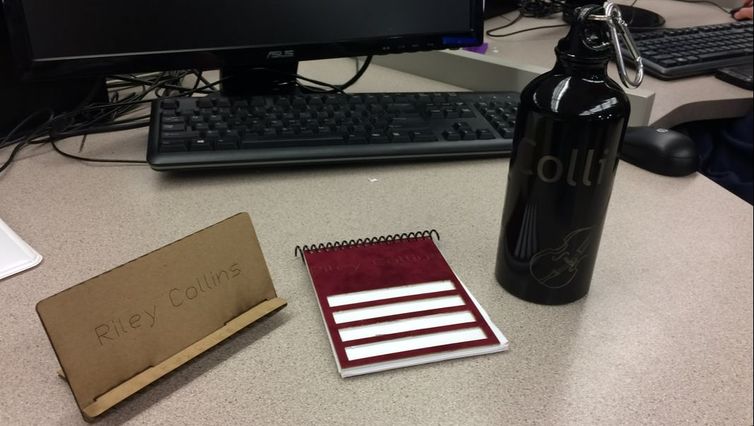
Notebook Covers
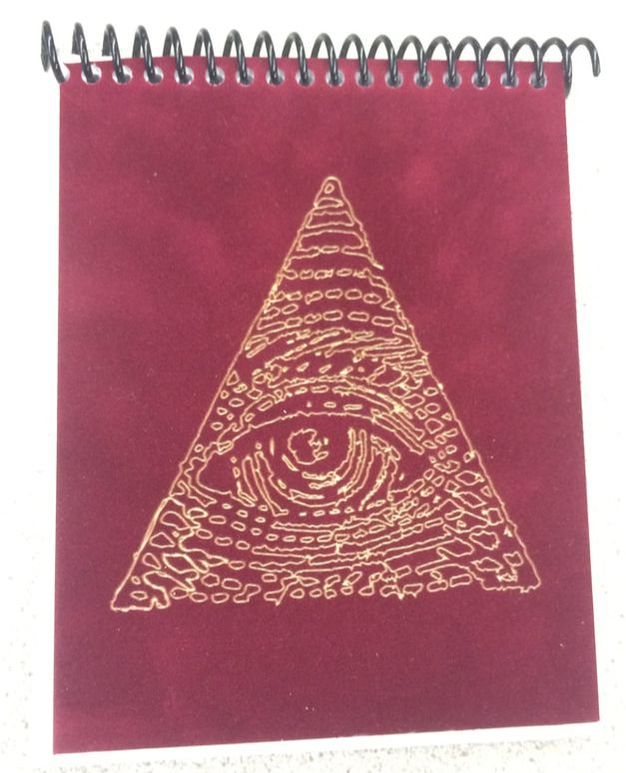
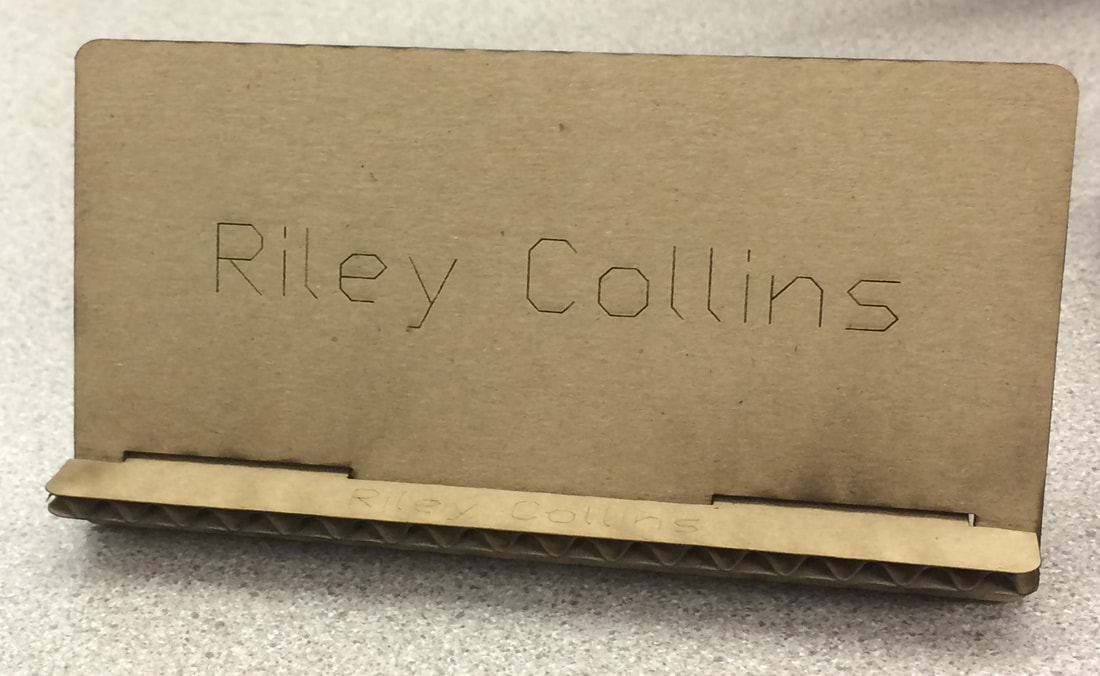
I designed two notebook covers, front and back. The paper used is 5.5" by 4.25", so I made both covers that size. Between the two, there needed to be at least one engrave and one cut process, not counting the outlines of the covers themselves.
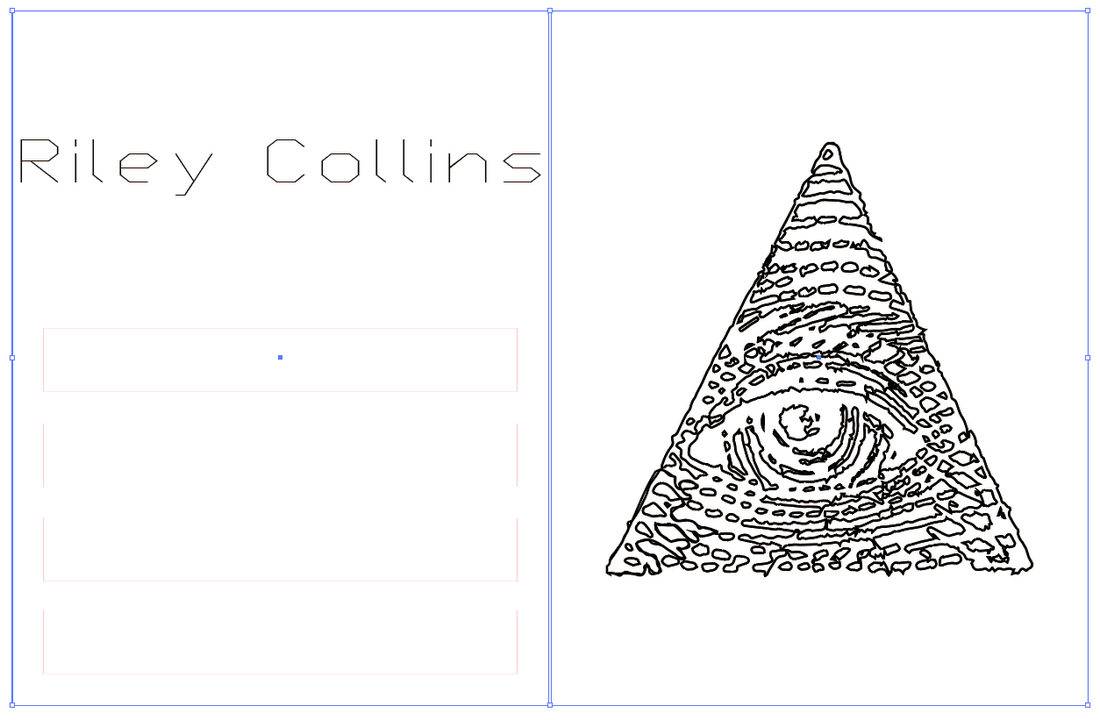
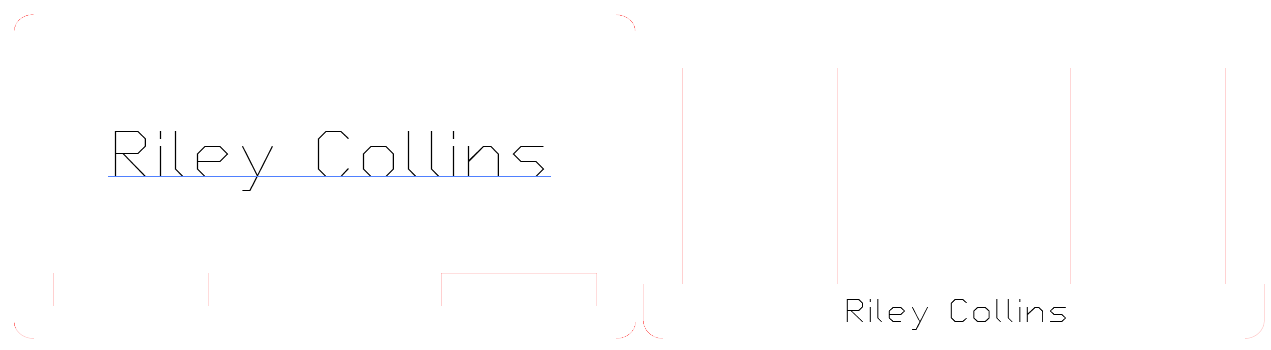
The design I used features my name engraved on the front with several cut rectangles as well as an image engraved on the back. Due to the 0.0001 thickness of the cut vectors, the cut processes on the front cover don't show up very well in this image.
The design I used features my name engraved on the front with several cut rectangles as well as an image engraved on the back. Due to the 0.0001 thickness of the cut vectors, the cut processes on the front cover don't show up very well in this image.
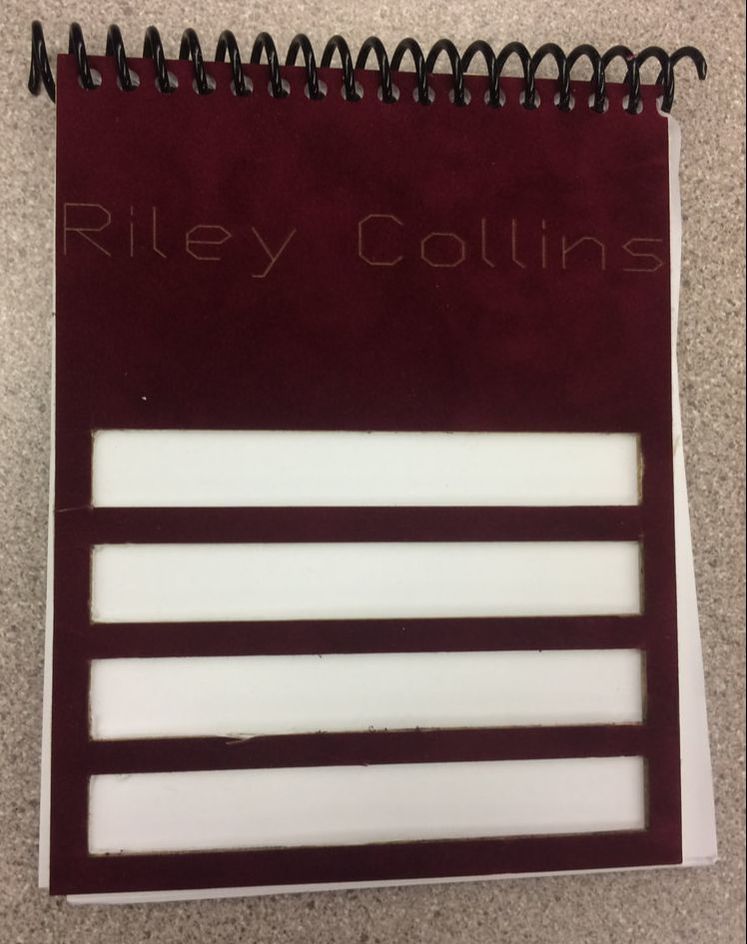
Once this design was complete, I cut it into matboard using the laser cutter. However, due to a discrepancy between the laser's matboard settings and the actual properties of the matboard that I used, the cut processes were not entirely cut out. Using a razor knife, I was eventually able to complete the partial cuts the laser made.
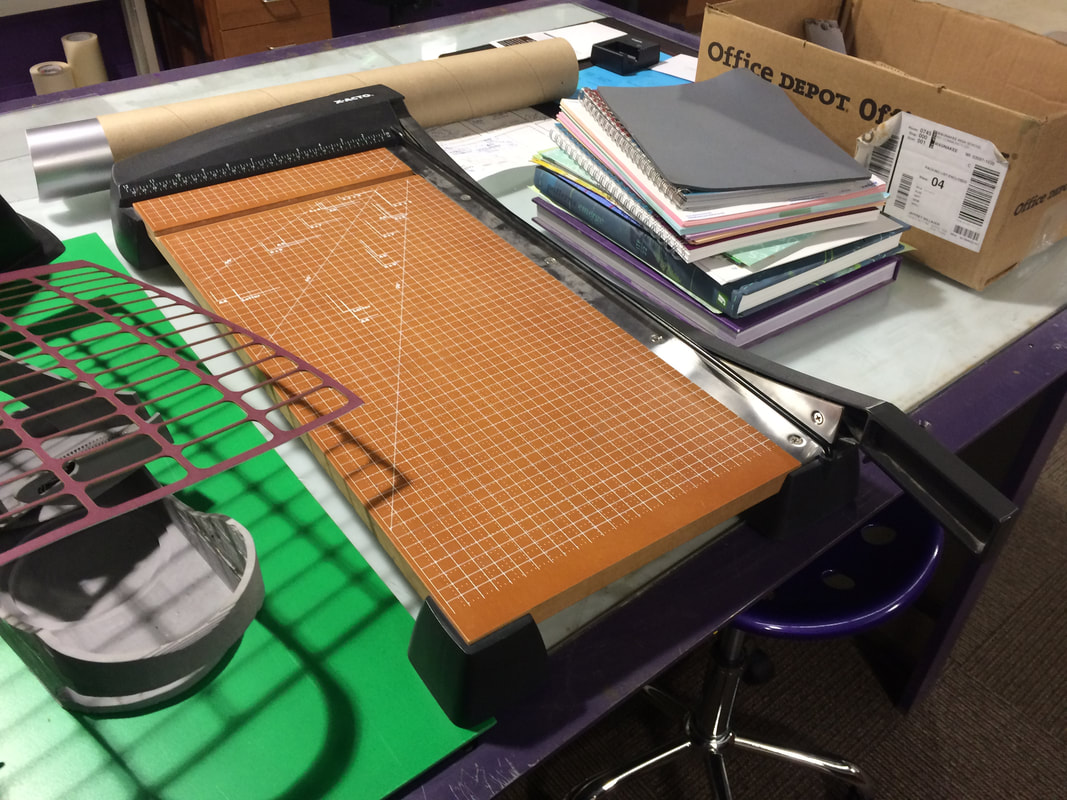
After the covers were complete, I needed to create 40 sheets of paper, 4.25" x 5.5". In order to do this, I cut 10 8.5" x 11" sheets into 4 equal rectangles using the paper cutter. I folded a single sheet into quarters and used it as a guide to cut all 10 sheets at a time.
Next, I needed to punch holes in both the covers and the sheets to bind them together. Once this was done, I threaded a spiral binding through the holes, thus finishing the notebook.
|
|
Water Bottle
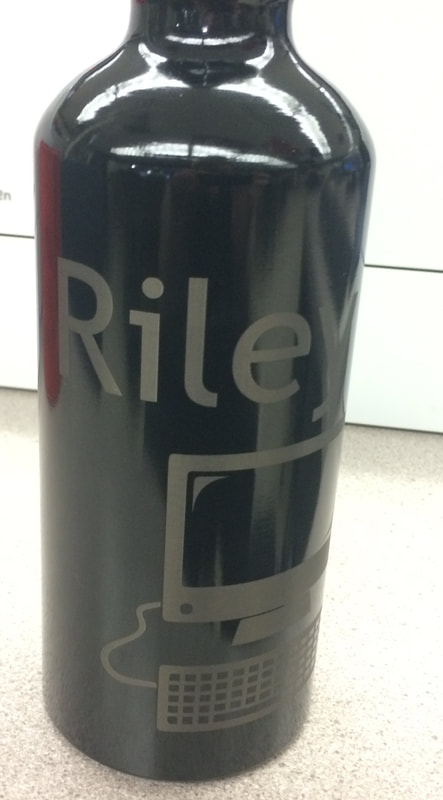
To engrave the water bottle, I first needed to find its dimensions. Given that it is 5.5" tall with a diameter of 2.87", the rectangular area to engrave is 5.5" x 2.87π" ≈ 5.5" tall by 9" wide. The engraved design requires both text and an image.
This is the design I decided to engrave onto the bottle:
This is the design I decided to engrave onto the bottle:

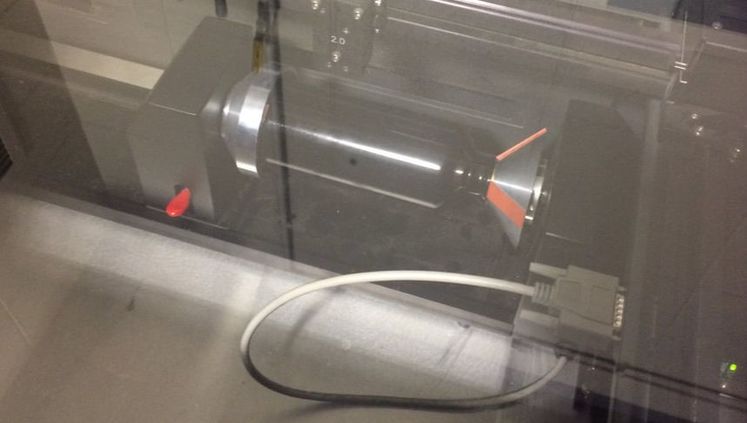
In order to engrave the design onto the cylindrical bottle, I used the rotational jig. By rotating the object while the laser engraves, it is able to produce a high-quality result that doesn't suffer from distortion from Illustrator file to final product.
The engraving process took some time due to the precision required with the rotational jig.
The end result, however, was worth the wait.
3-D Object
Finally, I used the laser to produce cardboard parts that could be put together into a 3-D object. All the parts must fit on an 18" by 32" piece of cardboard. I decided to create a two-part phone holder inspired by a design I saw on Thingiverse. I first created the basic shapes in Autodesk Inventor for the sake of dimensional exactness.
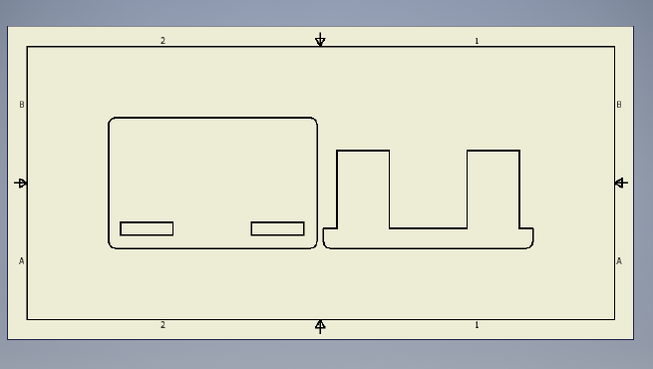
After this, I imported it into Adobe Illustrator, deleted the extra lines, converted the image to vector, and made the lines represent cut processes following the laser's format. Additionally, I added an engrave process to add my name to both parts.
With the Illustrator file complete, I cut the parts out on a sheet of cardboard using the laser.
The two parts put together form a simple, portable phone stand.
Conclusion
I have gained lots of knowledge on how to use the laser cutter by creating these three projects. The notebook was the most difficult project because I configured the laser incorrectly for the material and had to manually finish the cuts, and the phone stand was the easiest of the three because of its simplicity. Despite requiring use of the rotational jig, with which I had no prior experience, the water bottle was also a relatively easy project.