Introduction
The CNC mill is as vital to modern design as the router. This machine is capable of extreme precision and can handle a wide variety of materials.
Widget Design
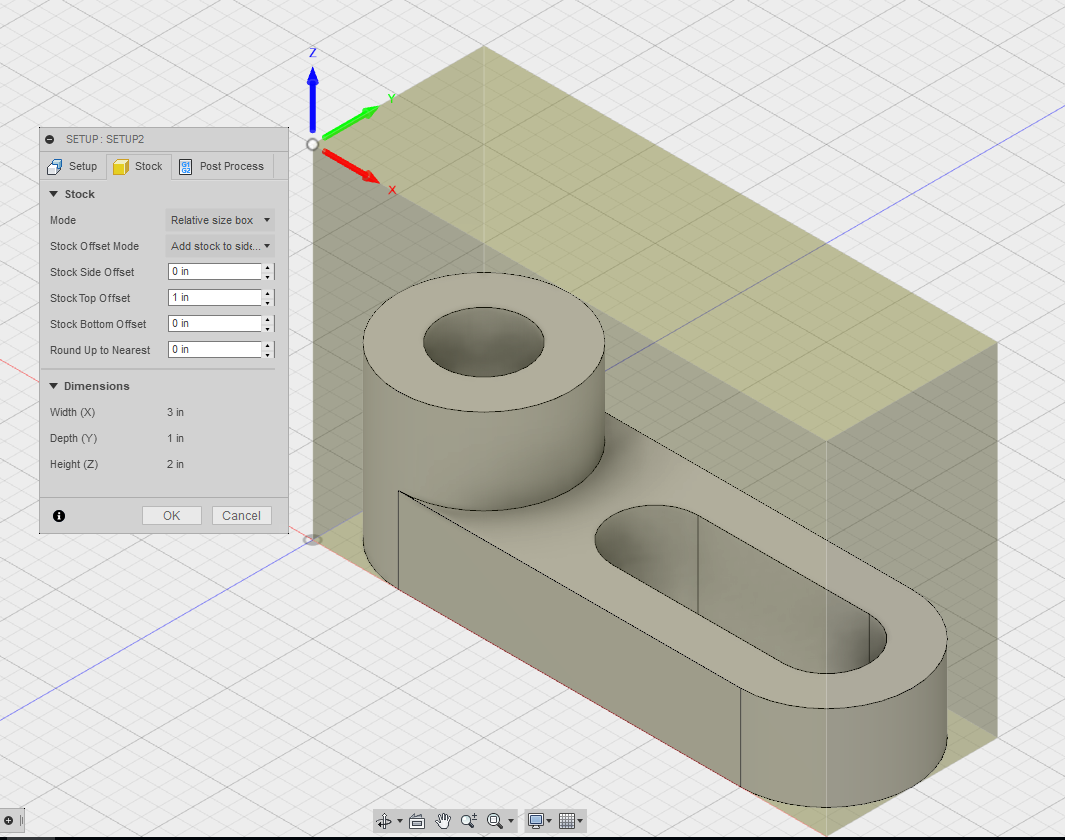
For the sake of time, I will be using the CNC mill to manufacture a widget. Originally, the design was 3" long x 1" wide x 2" tall, but due to the limited length of the mill's bit, the design was reduced to 1" tall.
Toolpaths
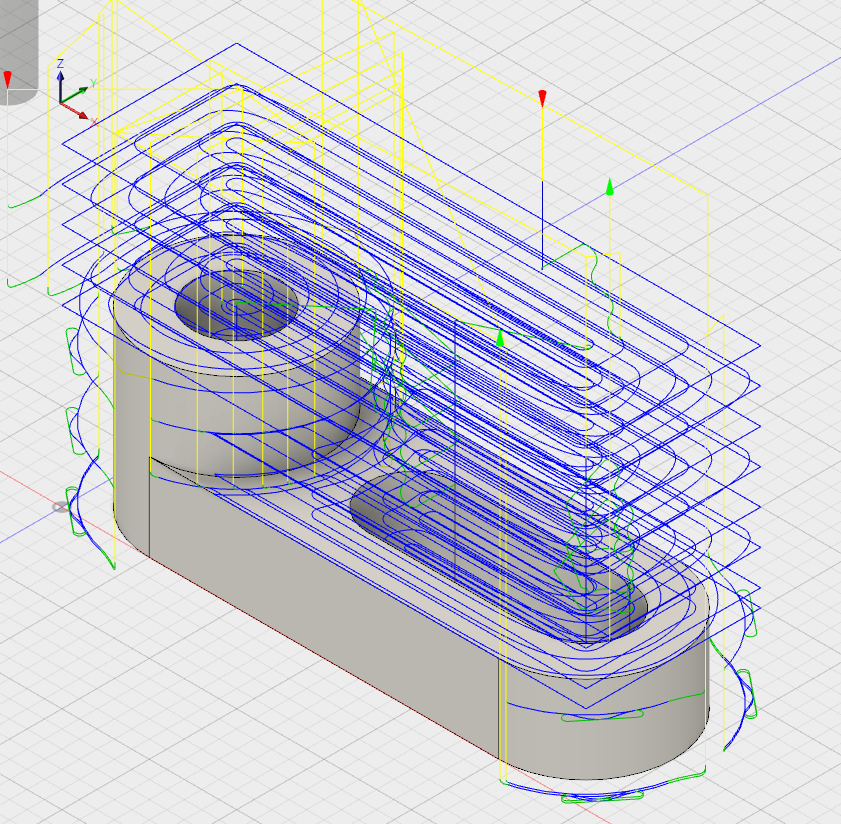
The process to mill this part can be completed using two processes: The holes and empty space are milled by a 3D pocket clearing, and an adaptive clearing rounds the edges.
Despite the change in design, the stock we had was still 2" tall, so I needed to factor in this extra material while preparing the milling processes by editing the Stock Offset options in the Setup menu. I added an offset of one inch to the top.
Finally, I exported the G-Code to a USB drive for transfer to the mill itself.
Preparing to Mill
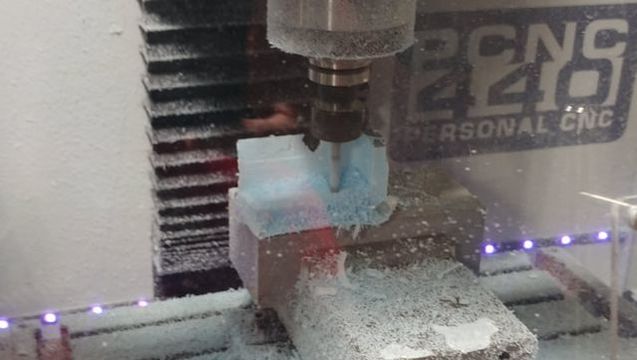
Before actually milling the part, some setup is required. First, the stock must be prepared. Using double-sided tape, the Styrofoam block must be attached to the mill's base. Additionally, the G-Code must be transferred to the machine computer's internal storage and then loaded. Finally, with the part loaded and the material prepared, the mill's bit must be aligned at the correct starting point and the position zeroed. As soon as these preparations are complete, one must only press the "Start Cycle" button on the mill's interface to begin milling a part.
Creating the Widget
On the first attempt, the Post Process only performed the pocket clearing. Though the design appears complete at first glance, the outer edges have not been smoothed.
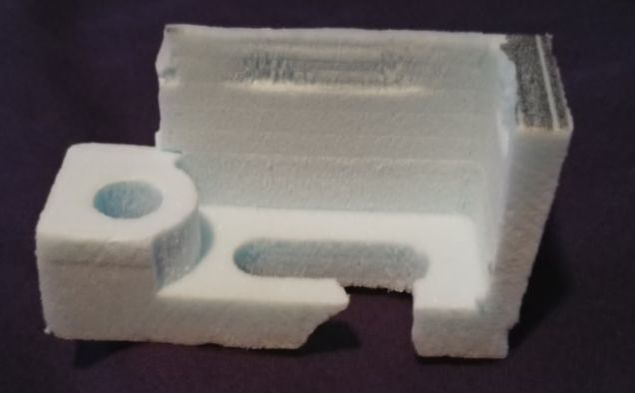
On the second attempt, an unknown phenomenon caused the initial step down to be too great, causing errors in the entire process. The mill had already cleared most of the material before it began to define the shape of the widget itself.
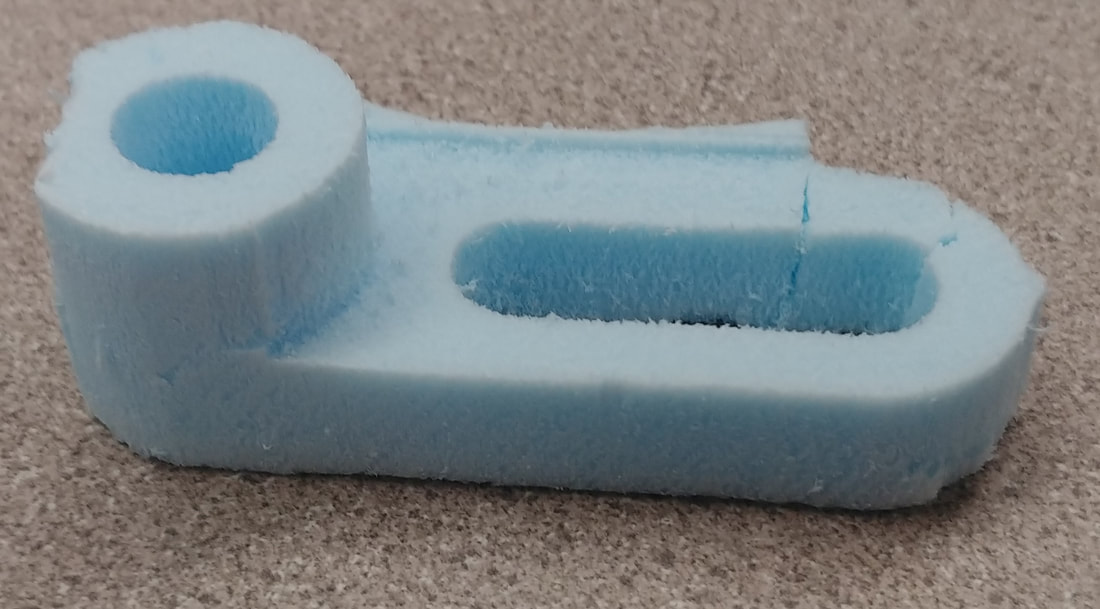
Finally, the third attempt was successful.
Final Product